Pull Up and Dip Bars: How to Choose, Install and Progress
 15 min
You're renting, the doorway is your only clear space, and you're trying to figure out whether one bar can handle pull-ups and dips under a low ceiling. The right choice starts with the room and the mounting surface, not the exercise list on the box. A bar that doesn't fit your ceiling, floor space, or structure won't become useful just because it offers more grip positions.
Pull-ups and dips also ask for different movements, and many beginners can't yet do either one unassisted. Choose equipment that fits your home, then match it to a progression you can perform with control.
Table of Contents
- Which Pull-Up and Dip Bar Fits Your Space
- Measurements That Decide the Right Bar
- What Pull-Ups and Dips Train Differently
- How to Install a Doorframe or Wall Bar Safely
- Safety Signals Before and During Training
- Beginner Starting Points When Strict Reps Are Out of Reach
- Progressing With Reps in Reserve
- Start This Week With One Bar and One Stage
Which Pull-Up and Dip Bar Fits Your Space
| Bar type | Pull-ups | Dips | Mounting | Space needed | Typical price |
|---|---|---|---|---|---|
| Doorframe bar | Yes | No | Pressure fit in door frame | Doorway clearance | About $45 to $65 average |
| Wall or ceiling mounted bar | Yes | Some models with dip handles | Bolted into studs or joists | Wall or ceiling area, with room to hang | Varies by model |
| Freestanding power tower | Yes | Yes | Freestanding, no install | Dedicated floor area and overhead clearance | A GORNATION station with dip extension and home-gym mats was listed at $543 in 2024 (GORNATION pull-up station) |
| Standalone dip bars | No | Yes | Freestanding or floor-set | Small floor area | Varies by model |
| Power rack with J-hooks | Yes | With dip attachment | Bolted to rack | Rack footprint and overhead clearance | Depends on rack |
A doorframe bar suits a renter who wants a removable pull-up option, but it doesn't provide dip handles. Average U.S. pricing is about $45 to $65, and many models are designed for openings 24 to 36 inches wide. Check the frame and installation method before loading it.
A wall or ceiling bar saves floor space and can offer a more stable fixed setup, provided you can drill into suitable framing. Some models include dip handles, but don't assume they'll fit your shoulders or leave enough clearance for the movement.
A freestanding power tower covers both exercises without drilling into the wall, but it takes up floor space and needs enough ceiling height. A rack with J-hooks can provide pull-ups too, while dips require a compatible attachment. Standalone dip bars are a compact choice for pushing work, but they can't replace a pull-up bar.
Quick choice: A renter with one usable doorway can start with a doorframe bar. A garage with enough height and floor space can fit a power tower. If you can drill into a suitable wall, consider a wall bar with dip handles.
Measurements That Decide the Right Bar
Measure your ceiling, mounting points, and the equipment before choosing a bar. For a pull-up bar, check the clearance above the bar with your hands in your intended grip. As a practical fit check, allow several inches between your highest hand position and the ceiling, then confirm your chin can pass the bar without contact. This is a general guideline, not a universal equipment standard.
| Measurement | Practical check | Why it matters |
|---|---|---|
| Clearance above the bar | Leave several inches above your hands in the intended grip; check that your chin can clear the bar | Prevents the ceiling from restricting your position or range |
| Ceiling height for a freestanding tower | Measure from floor to ceiling, then compare with the tower's assembled height and your overhead position | The frame and your body both need to fit |
| Rated load | Choose a model whose stated capacity exceeds your body weight and any added load you plan to use | Keeps your setup within the manufacturer's stated limit |
| Grip diameter | Try the grip if possible; a thicker bar can demand more from your forearms | Affects comfort and grip difficulty |
| Bar width | Check that the usable width fits your shoulders and preferred hand positions | A narrow bar may restrict grip options |
| Wall mounting | Locate structural framing and check that the bracket holes align with it | Drywall anchors alone are not suitable for a hanging load |
| Dip-handle spacing | Measure the inside distance between the two handles, where your hands grip them | Spacing that feels too narrow or wide can make the position uncomfortable |
The measurements in the table are checks, not fixed industry standards. For a tower, compare the product's assembled height with your ceiling, then account for the space your head and hands need in your chosen position. Don't rely on the listed bar height alone. If you can't maintain clearance, choose a shorter setup or a different location.
For a wall bar, find two studs and mark their centers before drilling. Check the manufacturer's mounting instructions and confirm the brackets align with suitable framing. If they don't, don't improvise with a mount the manufacturer hasn't approved.
Grip and width should match the movements you can perform now and the variations you plan to practice. A thicker grip may make holding the bar harder. A narrow bar can limit hand placement, while dip handles that don't fit your shoulder width may feel cramped. Try the grip and handle positions if you can, or compare their measurements with a setup you already use comfortably.
If the bar doesn't fit your space, mounting surface, or body, it isn't the right bar for you.
What Pull-Ups and Dips Train Differently
The bar and load set the limits first. Within those limits, grip choice changes the pull-up variation you can train, while dips add a distinct pushing movement. Choose variations you can perform with control, then progress them with added reps or load as your strength allows.
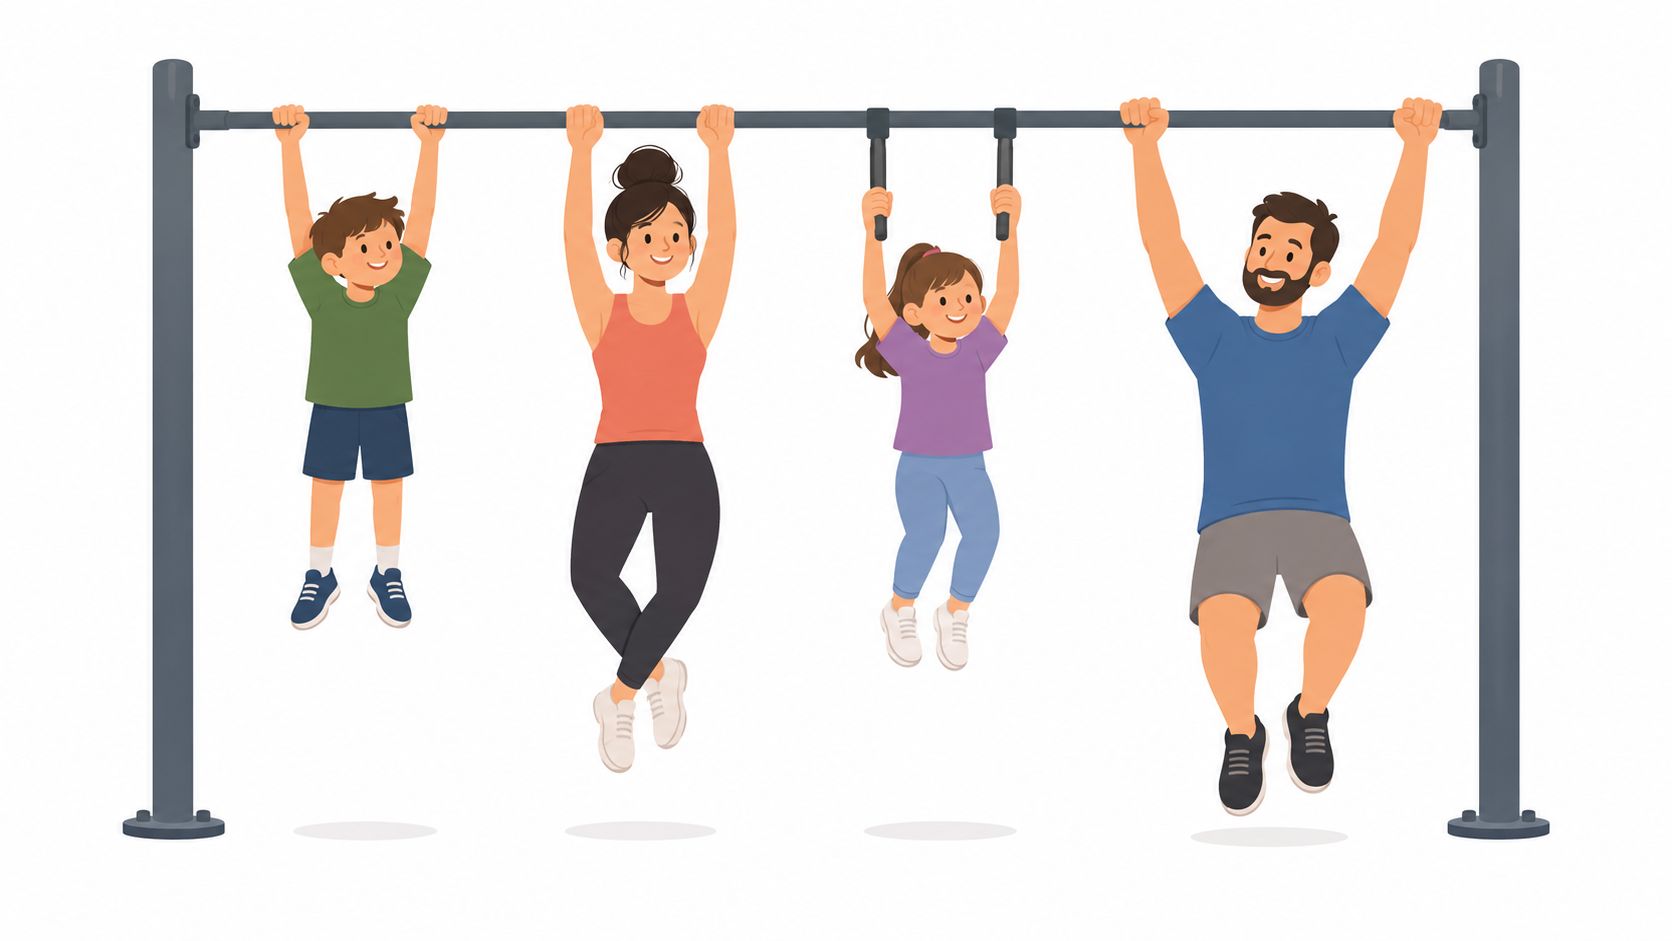
A 2020 biomechanics study compared three pull-up grips in 11 healthy adult men with no history of shoulder pathology. Wide-grip pull-ups showed relatively greater latissimus dorsi activation, front-grip pull-ups emphasized the biceps and brachialis more, and reverse-grip pull-ups showed higher proportional rotator-cuff activation (study of pull-up variations). These are differences in relative muscle activity, not proof that a grip isolates one muscle. The small study can inform variation choices, but it does not identify an exact target for every lifter.
Pull-ups train pulling muscles; dips train pushing muscles, including the chest and triceps. How much each muscle contributes during a dip can depend on body position, so treat a forward lean or more upright torso as a technique choice rather than a guaranteed way to isolate a muscle. Keep the dip depth within a range your shoulders tolerate, and use stable handles.
Short sets can build endurance, while strength gains call for deliberate overload over time. If your bar offers limited grip options, choose a progression you can repeat and advance with clean reps or added resistance. For practical ideas on building upper-body strength at home, match the exercises to the equipment and movements you can manage.
How to Install a Doorframe or Wall Bar Safely
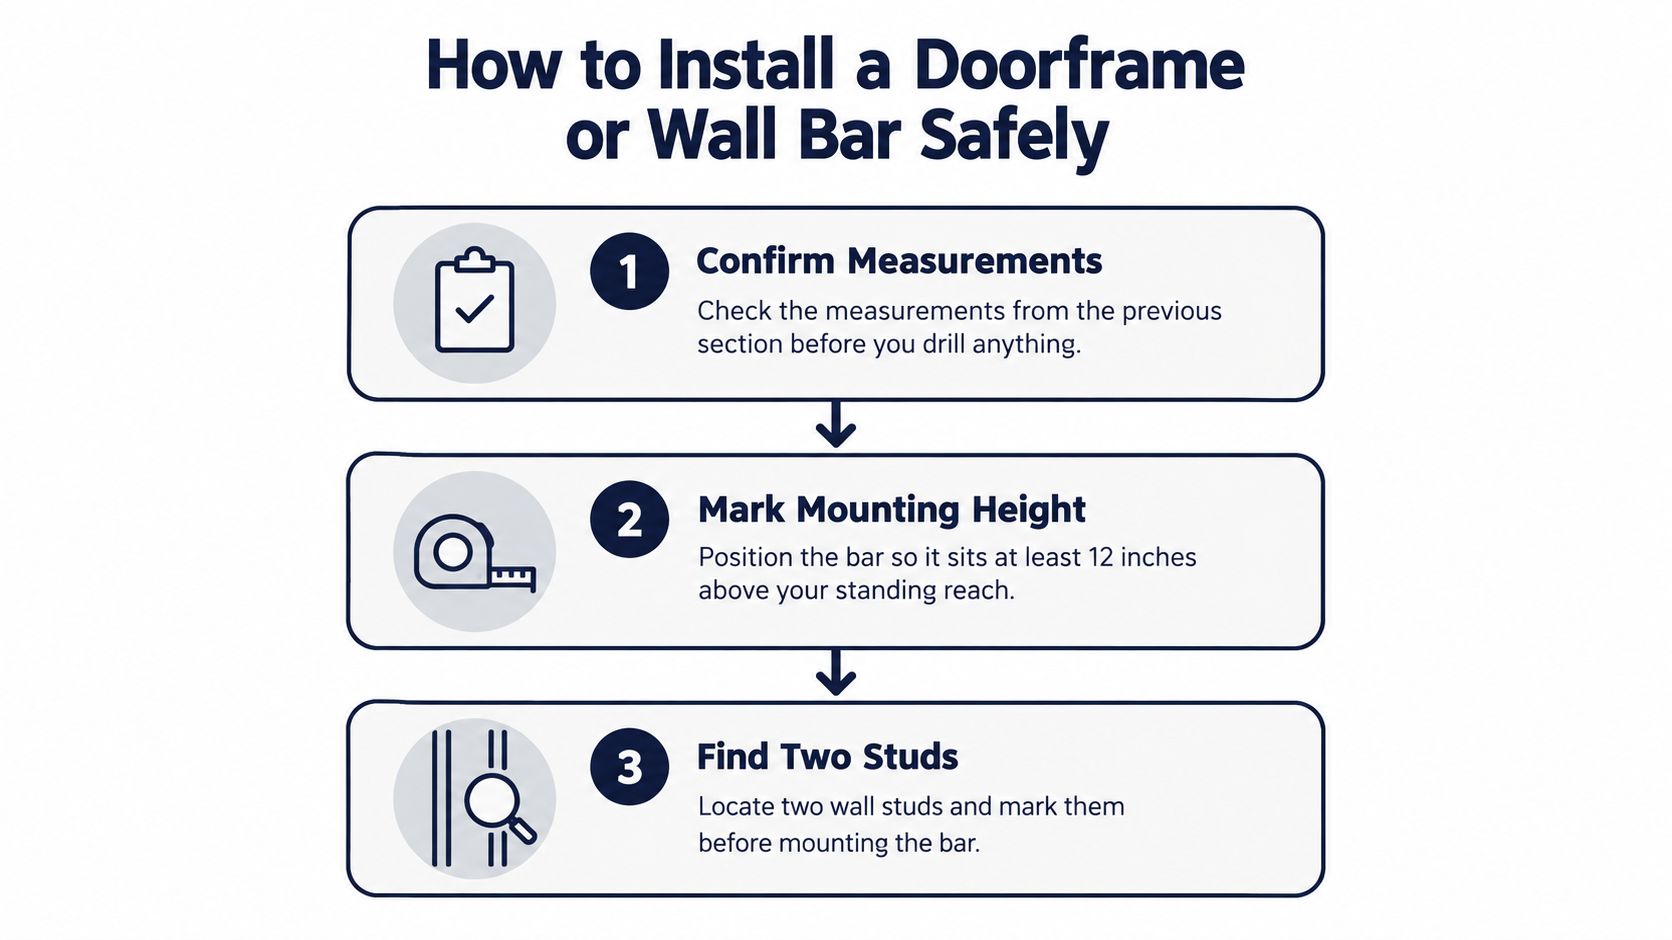
Confirm the bar's dimensions, clearance, and load rating before installation. Follow the manufacturer's instructions, since brackets and doorframe systems differ.
- Mark the height. Position the bar at least 12 inches above your standing reach so you have room to grip it; check your ceiling clearance before drilling.
- Find two studs. Use a stud finder and mark each stud's center for a wall-mounted bar; doorframe-bar users can skip to the frame check.
- Drill pilot holes. Make them slightly smaller than the lag-bolt diameter so the threads bite into the wood rather than loosening in an oversized hole.
- Fasten the bracket level. Tighten to the manufacturer's specified torque, because overtightening can strip wood and undertightening can let the bar shift.
- Check the doorframe. Make sure it's solid, measure the opening at three heights, and keep the bar clear of hinges and trim; a pressure-fit bar on a weak frame or obstructed trim can slip.
- Test the mount gradually. With a stool under your feet, add load in steps of about 25 percent of your body weight, then 50 percent, then full body weight, pausing at each step to listen for creaks or feel movement.
- Recheck the hardware. Inspect bolts and clamps after the first three sessions and monthly after that, since repeated loading can reveal a loose fitting.
- Secure the door. If it swings toward the bar, close and lock it during use so someone can't open it into your working space.
The common wall-mounting slips are using drywall anchors or relying on one stud. For a doorframe setup, a weak or damaged frame and a door that opens into the bar's work area are warning signs, not minor inconveniences.
If the bar moves, creaks, or shifts during the loading test, it hasn't passed. Stop, unload it, and correct the installation before training.
Safety Signals Before and During Training
Discomfort is information. Its location and character can help you decide whether to finish a set, change the movement, or stop.
| Sensation | Usual meaning | Action |
|---|---|---|
| Burn in lats or biceps in the final two reps | Normal training effort | Finish the planned reps |
| Sharp pain at the front of the shoulder | Possible tendon irritation | Stop the set; use assistance or a shorter range |
| Pinch at the top of a pull-up | Poor scapular control or overreach | Reduce the range; reset your shoulder blades |
| Pain on the inner or outer elbow | Possible tendon overload | Reduce sets and try a neutral grip |
| Grip gives out before the back | Forearms are limiting the set | Add grip work without increasing total volume |
| Lightheadedness or breath-holding | Rushed reps or poor pacing | Rest and slow the tempo |
| Bar creaks or shifts | Possible loose bracket or frame damage | Stop and check the equipment |
Stop the set if sharp shoulder or elbow pain appears. Before trying again, adjust the range, assistance, or grip. A bar that shifts or creaks is a reason to stop using it until the mount and frame have been checked.
Keep the movement controlled. Brace your trunk and avoid swinging, since a rep count alone does not show whether each repetition was controlled. The biomechanics of pull-up performance study examines pull-up performance using movement measures, offering a basis for looking beyond repetition totals.
Before training, warm up with hangs and scapular pulls. Choose a range and level of assistance that let you keep your shoulder blades controlled. Stop if you cannot maintain that position.
Beginner Starting Points When Strict Reps Are Out of Reach
Not being able to do a strict pull-up or dip is a common starting point, not a failure. A lower-load version lets you practise the pattern without turning each attempt into a grind.
Run this entry test in order, stopping if pain appears:
- Dead hang: Hold for 10 seconds with your shoulders engaged. If you can't maintain that position, begin with scapular hangs.
- Feet-assisted pull-up: Put your feet on a chair or step and try one controlled repetition. If you can do it cleanly, use assisted variations for your starting work.
- Bench dip: Keep your feet on the floor and count only clean repetitions. That gives you a starting point for pushing work.
If a test doesn't go well, use movements that don't require the bar. Try inverted rows under a sturdy table at waist height, incline push-ups against a kitchen counter, or chair dips. Begin with two to three sets of three to five reps, and train each movement no more than three times a week. For more ideas on choosing manageable bodyweight variations, use this bodyweight training guide for beginners.
If you've been inactive for several months, start one stage below what you think you can do and use the bottom of the volume range for the first two weeks. If your shoulder or elbow hurts during the entry test, skip the pull-up and dip tests and use only inverted rows and incline push-ups. Older adults should begin with two sets of three reps and check balance before attempting hangs.
Ask yourself: Can you finish every set with clean form and no pain? If not, reduce the difficulty. If pain persists beyond two weeks, see a clinician before continuing.
Progressing With Reps in Reserve
If your bar is secure but you can't yet perform strict pull-ups or dips, choose a stage that lets you train with clean reps and room to progress. Short sets can make practice easier to fit into the day and may build muscular endurance. Strength training also needs deliberate overload. Reps in reserve (RIR) is the number of clean repetitions you estimate you could still do at the end of a set. At 2 RIR, stop with two good reps left.
| Stage | Pull-up work | Dip work | RIR target and advance rule |
|---|---|---|---|
| Stage 1 | Dead hang for 10 seconds and scapular hangs | Bench dips with feet on floor, count clean reps | Keep each hold and set controlled, with no pain. Advance after completing all work cleanly for 3 sessions. |
| Stage 2 | Feet-assisted pull-ups, 3 sets of 5 | Bent-knee bar dips, 3 sets of 5 | Aim for 2 RIR on each set. Advance after all sets reach 2 RIR for 3 sessions. |
| Stage 3 | Band-assisted or negative pull-ups, 3 sets of 3 to 5 | Full-range dips, 3 sets of 3 to 5 | Aim for 2 RIR. Advance after completing 5 reps at 2 RIR in each movement across two sessions. |
| Stage 4 | Full pull-ups, 3 to 5 sets of 2 to 5 | Full dips, 3 to 5 sets of 3 to 6 | Aim for 2 RIR on each set. Add reps within the range while keeping 2 RIR. When all sets reach the top of the range for two sessions, add a small amount of load and return to the lower end. |
| Stage 5 | Weighted or slow-tempo pull-ups, 5 sets of 3 to 5 | Weighted dips, 5 sets of 3 to 5 | Aim for 2 RIR. Add load in small steps when all sets reach 5 reps at 2 RIR for two sessions. |
For Stage 1, holds and assisted movements do not always have a clear rep count, so use control and comfort rather than forcing an RIR estimate. In later stages, keep the same range of motion and tempo when comparing sessions. If you cannot reach the target RIR, reduce the difficulty or reps.
Keep a rest day between hard sessions for the same movement. Pull-ups and dips load different muscles, so alternate pulling and pushing work across the week if that fits your schedule. A 2025 review of exercise snacks examined short bouts of activity and reported no clear improvement in muscular strength across the included trials. That finding is about those studies, not a reason to dismiss training volume as a progress measure (review of exercise snacks).
Record your sets, reps, and RIR in a bodyweight workout journal. Compare performance at the same RIR, and check your current stage every four weeks.
Start This Week With One Bar and One Stage
Train on three days this week, with a rest day between sessions. Use the sets prescribed for your current stage, perform one hard set per movement at the stage's target RIR, and stop any set when your form breaks.
Log the date, reps, and RIR for every set. After four weeks, retest with the dead hang, feet-assisted pull-up, and bench dip checks from the entry test. Advance only if you've met your stage's rule; otherwise, repeat it for another four weeks.

SuperStrong is an iPhone app that logs pull-ups and dips as tiles on a shared wall for up to four friends. Tile size grows with reps and personal bests earn a NEW PR badge, but it tracks sets rather than replacing your progression rules; a new wall starts empty, and the app is iPhone-only.
Choose a bar that fits your ceiling, mounting surface, and current ability, then start with a stage you can complete cleanly. Visit SuperStrong to log pull-up and dip sets on a shared wall with friends and make your training visible as you progress.